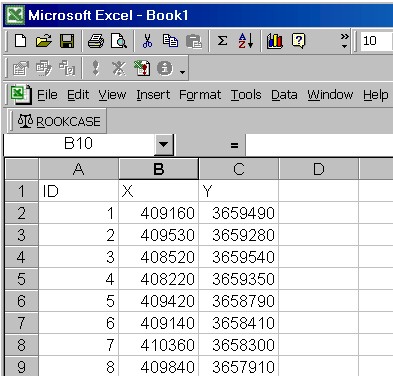
Using MS Excel for Simple Database Work 

MS Excel can be used instead of ACCESS for simple database functions.  In Excel, database tables are referred to as lists.  Search under "list" in an Excel help query.  A list in Excel consists of a part of a sheet that is organized into rows and columns with the first row of the array containing the labels or column headings.

The procedure described in Step 2 method 2 using ACCESS can also be accomplished with Excel as follows:

Start Excel.  

Type the labels "ID", "X", and "Y" into cells A1, B1, and C1 respectively.  Note that you will be saving the file in dbase format which restricts labels to ten characters.  Text longer than 10 characters in the ID label line (row 1) will be truncated to 10 characters when saved in dbase format.  Text data other than labels can exceed 10 characters.  Be sure not to enter text data into columns formatted for numerical data (such as columns "X" and "Y" in this example.

Enter the GPS data into rows 2 through 9 as shown below:

Then choose "Save As" from the "File" drop down menu, browse to the appropriate sub-directory, select DBF 4 (dbase IV) as the file type, give the file a name, and press "Save":

Import the dbf file into ArcView as describe previously in Step 2 method 2.

To modify an ArcView table using Excel, simply open the dbf file in ArcView using the File Open window as shown below: 

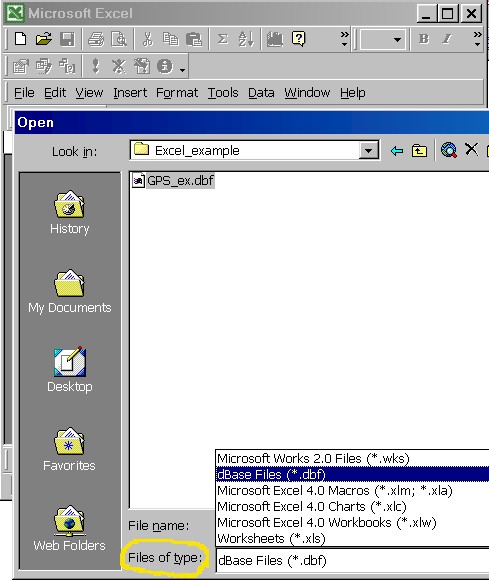
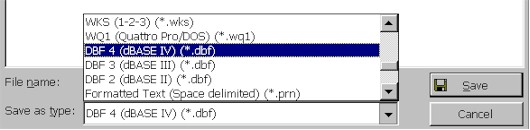
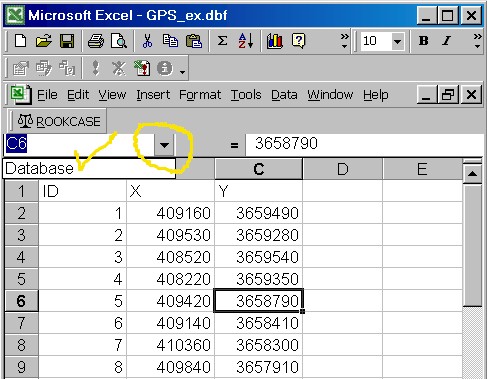
Be sure to select "dBase Files (*.dbf)" under "Files of type" in the File Open window.

When you add new rows to an existing dBase File there is an important feature to be aware of.  You have to insert new rows into the database above the last row of the database.  You cannot add new rows to the very end.  Here is what to look for:

After the dbase file is load into Excel, press the down arrow in the name area of the spreadsheet as shown below. Note that the word database appears.  Select that word:

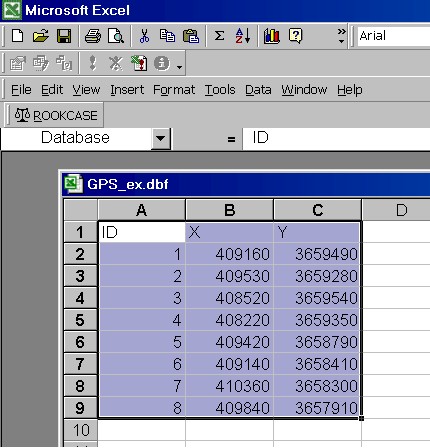
The database area in the spreadsheet will be highlighted.
No data that you have entered that is outside that box will be saved in the .dbf file.  To put the data inside the box insert rows above the last row of the database using the insert drop down menu and cut and paste the data that are outside the box into the inserted rows:

To link tables created in Excel, export the tables to ArcView and use the join tool in ArcView as described in Step 3.


U of A Geostatistics | U of A Plant Pathology GIS Home | U of A GIS
 
Contact:  Tom Orum at torum@ag.arizona.edu
  Merritt Nelson at mrnelson@ag.arizona.edu
01/13/00 http://ag.arizona.edu/PLP/GIS