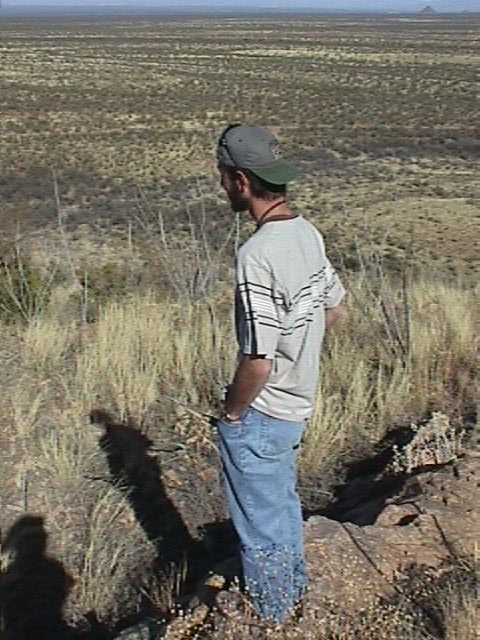

The most obvious step in this process was to actually go out to the SRER and collect a wide range of pictures. The result of these picture taking-trips can be seen throughout this website. For most images, just taking a good picture and posting it on a webpage was sufficient. The panoramas, however, required much more work.Panorama creation:
I traveled to a desired location and took as many pictures as were needed to make a full 360 degree circle. For example, I would take a picture and then turn so that the left side of the first picture will be the right side of the next picture. This process continued until I was once again facing in the original direction. When I returned to the Lab, I used Photo Vista to mend the pictures into one large panorama. At this point, the merged picture generally looked fairly rough. Example.
At this point, I used a program called Xres from Macromedia software. This program has a "stamp" tool which is used to copy areas in one part of the picture to another. Using this tool, I simply copied other parts of the image that look good into parts of the image that were blank. Although I am not an expert, I tried to smooth and rough areas so that the panorama appeared as one continuous picture. Example.
Note: I chose to use this panorama since the sunset is relatively hard to imitate. As a result the adjustments that I made are still relatively visible if you take a close look. I tried to be more conspicuous on the other photos contained within this site.
At this point, I loaded the fixed panorama back into Photo Visa and created a 360 degree view by saving picture as a "real space" file. The result can be seen on the panorama page.
Written by Kenneth Jacobson
USE YOUR BACK ARROW